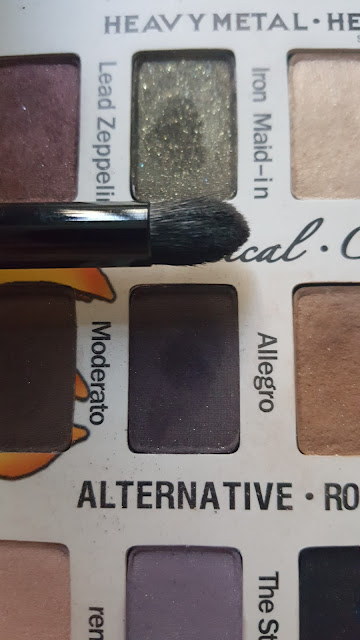
Tutorial: Outer Cut Crease featuring Deep Purple
Today's look is lovely for all eye shapes (yay!) but, as usual, is suitable for hooded eyes like mine.
You can use these techniques with whatever colours you like, today I did purple with black liner and gold below but yesterday (which you can see on Instagram) was burgundy with black liner and electric blue below. Make it as subtle or outlandish as you please.
Jumping right in set yourself up with a primer and nude shade all over. I also have my foundation completed first this time so I have a face powder to set my primer.
Then it's time to set up a transition with a shade slightly darker than your skin and a fluffy blending brush.

After you've created a nice smooth blend, take a much deeper shade, for me it's an indigo, and a small crease brush, and take it into your crease (above if you have hooded eyes). Build up the colour slowly, and as you need it. Make sure you relax your muscles and look ahead whilst doing this.

Now simply take your previous blending brush and careful to point upwards, blend it out until smooth. Add a little more transition shadow if need be.
For the look I did I added a kitten wing to the upper lashline and a different coloured liner (gold) to the bottom. Here's me struggling greatly to make wings happen.
And once the struggle with a simple black line is over you may look something like this.
You're left with the option of adding mascara just to the top, or to the bottom as well.

Add an inner corner highlight if you please. I used an icy silver because it shows up on my cottage cheese complexion.
Put some gloss on your incredibly dry lips and you're ready to conquer the world.
I hope you enjoyed this tutorial or maybe just my blathering on. Either way, thanks for reading and have a lovely day.
Cassy


Comments
Post a Comment